Wallet Multitool Card
Last updated: 2/4/2026
A wallet multitool designed to hold adapters, USBs, and SD cards
I was inspired by N-O-D-E, to create my own version of a wallet multitool card that holds various parts I carry on the daily.
The items I wanted my card to hold includes:
- USB-C to Micro USB Adapter
- USB-C to USB-A Adapter
- USB-C to Lightning Adapter
- Razer Hyperspeed Dongle
- Logitech USB Dongle
- Lexar E32C USB Flash Drive
- 2-3 SIM cards
- 2-3 Micro SD Cards
- Micro SD to Full SD Adapter
- SIM Ejector Tool

Version 1
For the first version of the card, I needed to make sure the dimensions of the card matched the dimensions of a typical credit card:
- Length: 85.6mm
- Width: 53.98mm
- Corner Radius: 3mm
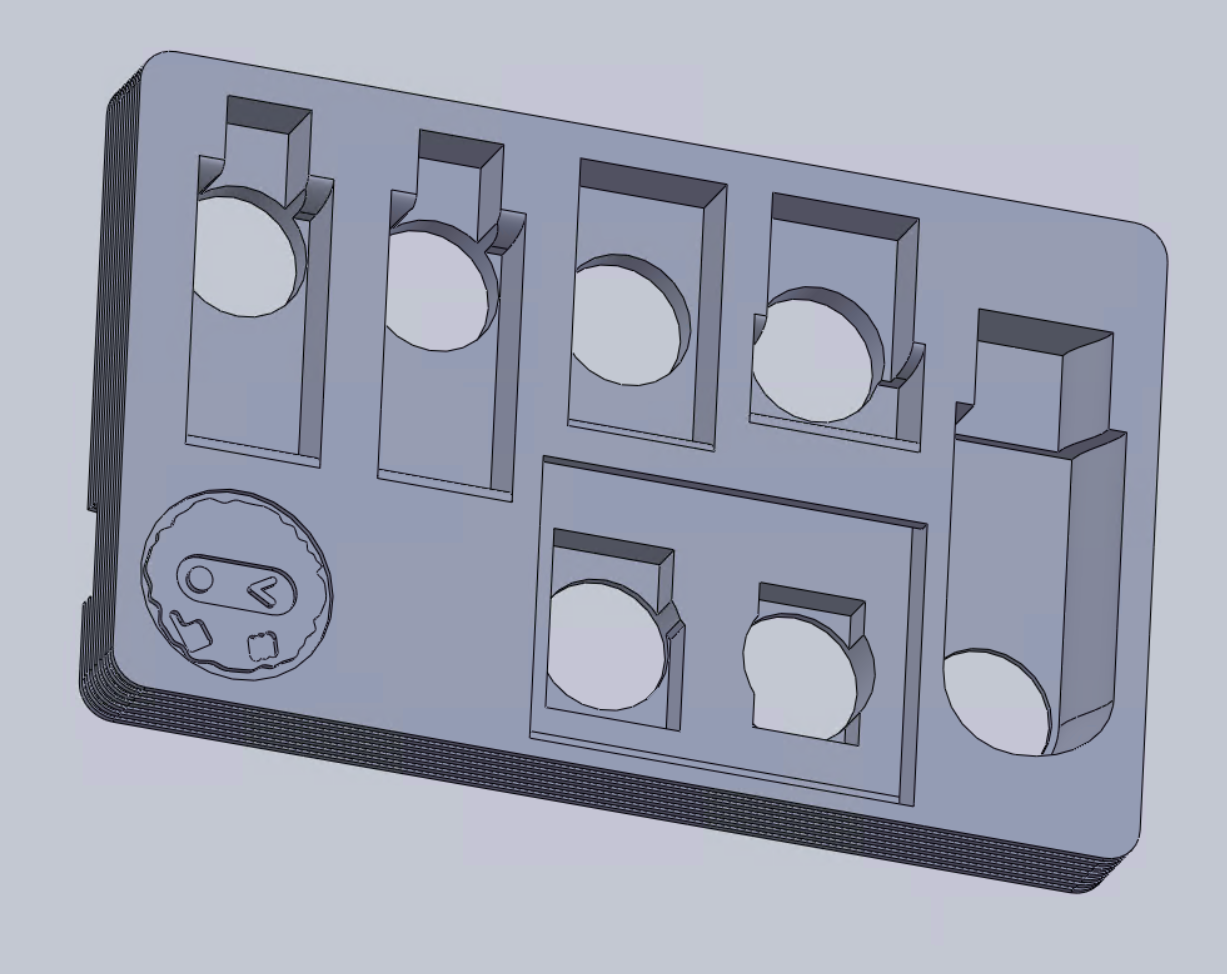
I created the initial cavities for the parts, without worrying too much about the dimensions being accurate. The main concern was making sure all the parts could fit onto the card. It features a slot on the side, where the SIM eject tool can slide into.

Similar to N-O-D-E's design, I added these ridges along the side of the card to give the sense that it's a stack of credit cards. With a print height of 0.2mm, I dimensioned these to be 3 print layers high.

Just to fill in some empty space, I designed a cool logo that I could imprint onto my designs
![]()
After some revisions to the design, I ended up with with my version 1. This was my first time learning to use a 3D printer, so I wanted a physical print to test as soon as possible. I fully expected pieces not to fit into the card.

Version 2
After printing the first version of the card, I started to work on the second version. Taking accurate measurements of the pieces, I wanted to ensure that pieces would fit. However, I wasn't sure how tight the fight would be between pieces when the print came out, so I dimensioned the cavities to be the exact measurement that I took.

Since the USB stick is the thickest element in my card, the bottom of the USB is naturally where the card is thinnest. After finding the previous print to be a lot sturdier than I expected, I was confident enough in the structure to reduce the thickness of the card at the thinnest points. For this version, I reduced the depth to 4 print layers or 0.8mm.

Version 3
I found that parts were able to fit into the card, but with a really tight friction fit. With this version, I added curves and ledges to allow for some inaccuracy in the dimensions. If the dimensions are slightly too small or too big, the part should still be able to fit into the card.
The USB cavity now features a curved cutout, so that it can be pulled out with your finger.

The SD Adapter can now slide into the card, which holds the adapter into place.

Adapter slots feature a similar improvement, allows for some variances in fit.
